As a warning, this week’s Wa post is a major level up in difficulty – wa via kimono. It will involve more ties than you thought possible, wrestling with yards of fabric, and possibly occasional pauses to catch your breath.
 |
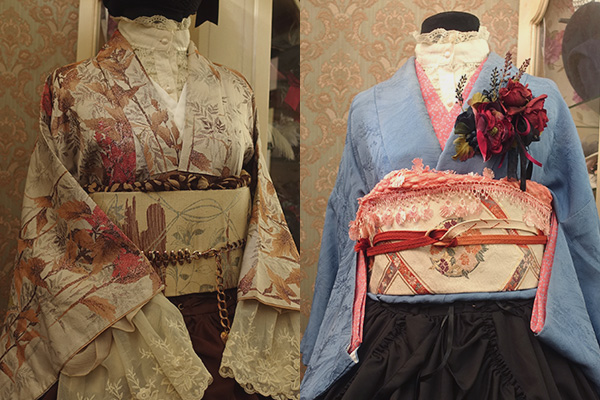
III-A. Hakama styleThe kimono is tucked under the skirt; the excess length is folded up and hidden entirely. This is the method popularized by the late Opaline; you can view her process post here. She explained the process very clearly. Hakama-style is much easier than ohashori-style (covered further down in this post) because you only have the top half to worry about- the skirt will be covering up the rest. Nevertheless, padding and juban (han or half juban are easiest to wear for lolita) are recommended to get the most crisp, smooth shape.
|


If you’re practicing on yourself, it will be much easier to put on the petticoat after the skirt, instead of at the start of the process like this. However, it’s hard to wrestle with several layers on a mannequin so I put on the petticoat first.
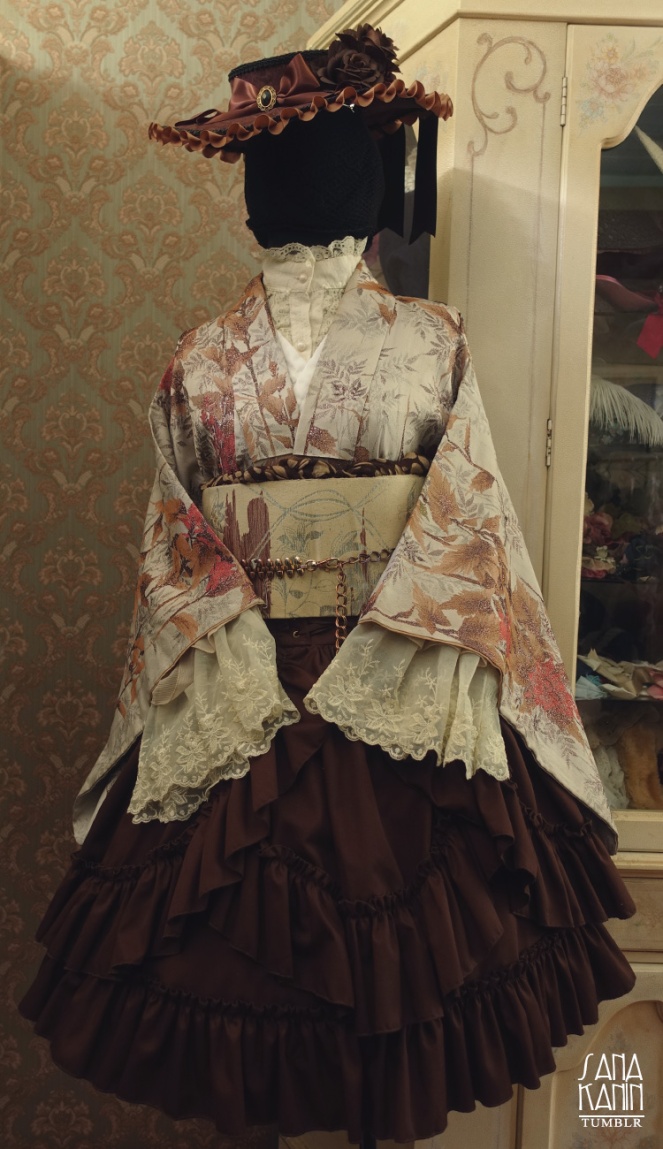 |
III-B. Hakama style + obiFor actual hakama, the obi goes under, not over the waistband – but if you did that with a lolita skirt, it probably wouldn’t zip closed. Therefore, I put the obi on over the high-waist corset part. Regarding obis for Wa-lolita, I’ve always favored the tsuke/tsukuri (pre-tied) variety. A wider obi such as a fukuro or maru is very long, very heavy and tends to squash the poof if it’s tied too low on the body. Tsuke tend to be shorter and thinner; and infinitely easier to handle, even if they’re limited in the variety of looks you can produce. Hanhaba and nagoya obis are good for more advanced wearers. |


 |
III-C. OhashoriHere is the mob boss of the bunch. Kimono are produced in a single length, and adjusted to fit the wearer by folding. The little fold under the obi is called an ohashori. However, adding a poofy skirt to the equation results in a lumpy ohashori. It falls much better on the straight column shape of a regular kimono ensemble.
|


